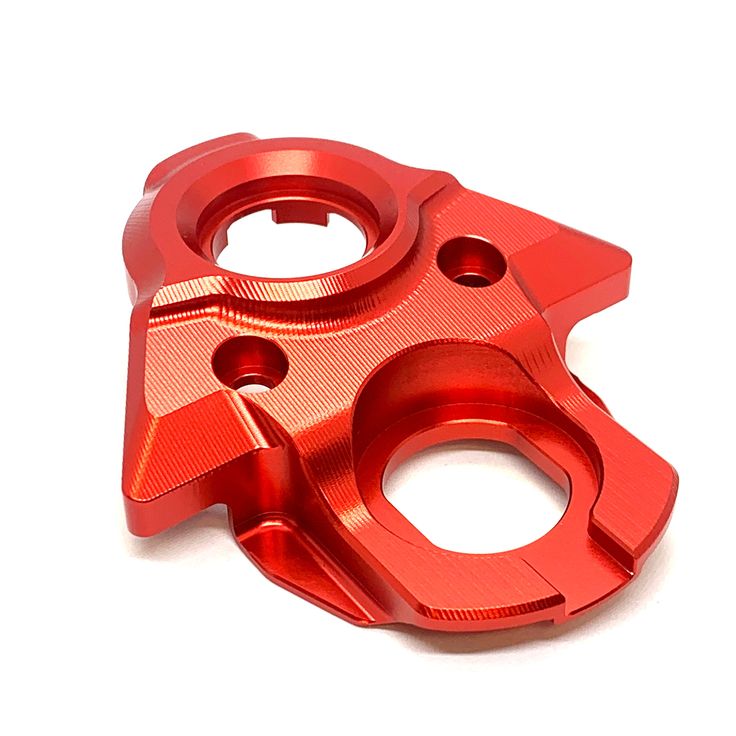
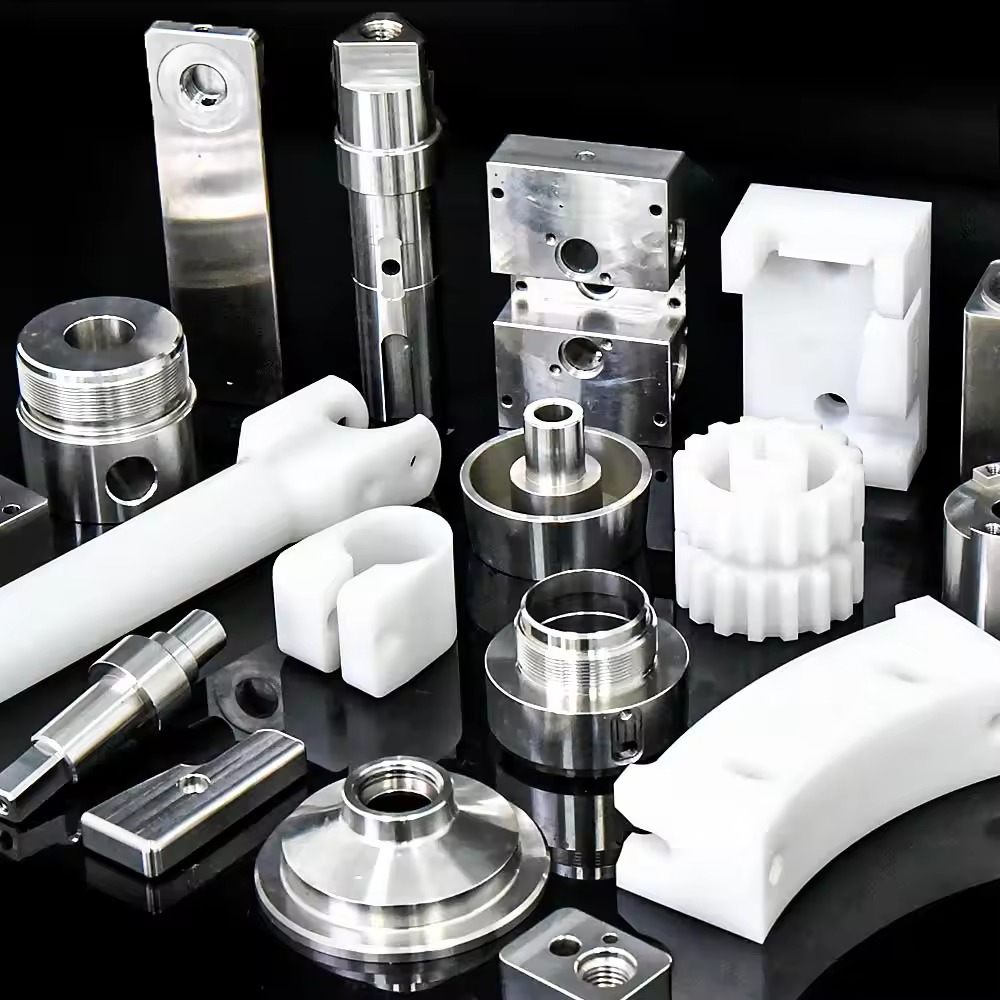
5-axis Machining Tolerances and Surface Finish Explained (Upgraded Engineering Version)
When it comes to precision manufacturing, 5-axis CNC machining is the gold standard for achieving both intricate geometries and exceptionally tight tolerances—crucial for aerospace, automotive, and medical device applications. As an ISO 9001 certified 5-axis CNC machining manufacturer, BERGEK combines state-of-the-art equipment, rigorous process control, and global best practices to meet the demands of engineers and sourcing professionals worldwide.
1. Engineering Tolerances: How Tight Can 5-Axis CNC Go?
5-axis CNC machining excels in complex part production due to its ability to approach a workpiece from multiple angles in a single setup. This minimizes repositioning, reduces stacking errors, and enables us to consistently achieve tolerances as tight as ±0.01mm (10μm).
Industry Reference:
- 3-axis CNC: Typical achievable tolerance is ±0.05mm
- 5-axis CNC (BERGEK): Routinely achieves ±0.01mm or better
This level of precision is validated with full-process CMM inspection (Coordinate Measuring Machine) and SPC (Statistical Process Control), with results fully documented and traceable. We comply with ASME Y14.5 and ISO 2768 standards for tolerance and dimensioning.
Case Example:
A global aerospace supplier required turbine impeller prototypes with ±0.01mm concentricity. With 5-axis simultaneous machining and automated in-process measurement, BERGEK delivered consistent results that passed independent third-party CMM verification.
2. Surface Finish: Ra Values, Methods & ISO Standards
Surface finish directly impacts part performance and is measured by the average roughness (Ra). For engineering-critical components, the following standards typically apply:
| Application | Typical Ra Value (μm) | Common Surface Treatment |
|---|---|---|
| Aerospace mating surfaces | 0.8 – 1.6 | Anodizing, Nickel Plating |
| Automotive visible parts | 1.6 – 3.2 | Powder Coating, Black Oxide |
| Medical device surfaces | 0.4 – 1.6 | Electro-polishing, Anodizing |
At BERGEK, our ISO 9001 certified surface finishing CNC machining workflows support:
Anodizing (for aluminum): Ra as low as 0.8μm, with clear, black, or colored finishes.
Nickel electroplating: Ideal for medical and aerospace, achieves both low Ra and high corrosion resistance.
Powder coating: For robust protection and color uniformity, typical Ra 2.0–3.2μm.
Black oxide: For steel, combining anti-corrosion and matte appearance.
All finishing processes are backed by ISO 9001-compliant inspection routines, including visual, tactile, and non-destructive testing, plus surface profilometry reports.
3. Real-World Quality Assurance: What Sets BERGEK Apart
In-Process Measurement: Automated probing and laser measurement for live feedback during machining.
Final Inspection: Each batch comes with a complete CMM report and traceability codes.
SPC Charts: On critical dimensions to ensure statistical stability.
Material & Coating Certificates: Provided on request for all projects.
Tip for Engineers:
Always specify both tolerance (e.g., ±0.01mm, per ASME Y14.5) and desired surface finish (e.g., Ra 1.6μm, anodized) at the design stage, as finishing processes (like anodizing or plating) can slightly affect the final dimension.
4. Engineering Application Guide: Choosing the Right Process
| Requirement | Recommended Process |
|---|---|
| Ultra-tight tolerance, small parts | 5-axis CNC + CMM Inspection |
| High cosmetic demand | Powder Coating / Anodizing |
| Wear/corrosion resistance | Nickel Plating / Black Oxide |
| Prototype to production flexibility | Multi-axis CNC + SPC-controlled process |
Common Mistake:
Underestimating the impact of surface treatment on final dimensions. BERGEK engineers review all drawings to pre-compensate for coating thickness (e.g., anodizing adds 8–25μm).
5. Why Aerospace, Automotive & Medical Industries Trust BERGEK
For industries where failure is not an option, choosing an ISO 9001 CNC machining manufacturer is not just a preference—it’s a requirement. Aerospace mating parts, medical implants, and automotive safety components demand tight tolerance CNC machining, premium surface finish, and full process documentation.
Ready to Upgrade Your Precision CNC Parts?
Contact BERGEK for expert engineering support, fast prototyping, and mass production under the strictest quality standards. Get your design reviewed by our technical team, receive a fast quote, and experience world-class CNC machining—backed by data.
READ MORE:
- 5-Axis Machining for Prototyping vs. Mass Production
- How 5-Axis Machining Reduces Production Lead Time
- Materials Suitable for 5-Axis CNC Machining
- Advanced Surface Finishing Techniques in 5-Axis Machining
- Case Study: Complex Mold Manufacturing with 5-Axis CNC
- 5-Axis CNC Machining Cost Factors and Price Calculation
- Quality Control in 5-Axis CNC Machining
- 5-Axis CNC Machining for Customized Parts
- What Industries Need 5-Axis CNC Machining? | Expert Analysis by BERGEK
READ MORE:
- Quality Control in 5-Axis CNC Machining
- 5-Axis CNC Machining for Customized Parts
- What Industries Need 5-Axis CNC Machining? | Expert Analysis by BERGEK
- ISO 9001 certified 5-axis CNC machining supplier in China
- How 5-Axis Machining Improves Aerospace Components
- What is 5-Axis CNC Machining? Engineer’s Decision Guide & ISO 9001 Certified Solutions
- Engineering Guide: How to Select the Right Metal Thickness for CNC Machining
- Metal Surface Treatment Guide | ISO 9001 Certified CNC Machining & Finishing Partner
- Short Lead Times, High Precision: Why More Manufacturers Rely on ISO 9001 CNC
READ MORE:
- 5-Axis CNC Machining Cost Factors and Price Calculation
- Quality Control in 5-Axis CNC Machining
- 5-Axis CNC Machining for Customized Parts
- What Industries Need 5-Axis CNC Machining? | Expert Analysis by BERGEK
- ISO 9001 certified 5-axis CNC machining supplier in China
- How 5-Axis Machining Improves Aerospace Components
- What is 5-Axis CNC Machining? Engineer’s Decision Guide & ISO 9001 Certified Solutions
- Engineering Guide: How to Select the Right Metal Thickness for CNC Machining
- Metal Surface Treatment Guide | ISO 9001 Certified CNC Machining & Finishing Partner


